Hey there, young tech enthusiasts! Have you ever wondered how the internet comes to your home? You use it for games, videos, and chatting with friends. Today, we will learn about something super cool and fast—fiber optic internet installation process! We’ll explore how this unique technology works and how it’s installed in your home. Let’s dive in!
What is Fiber Optic Internet Installation Process?
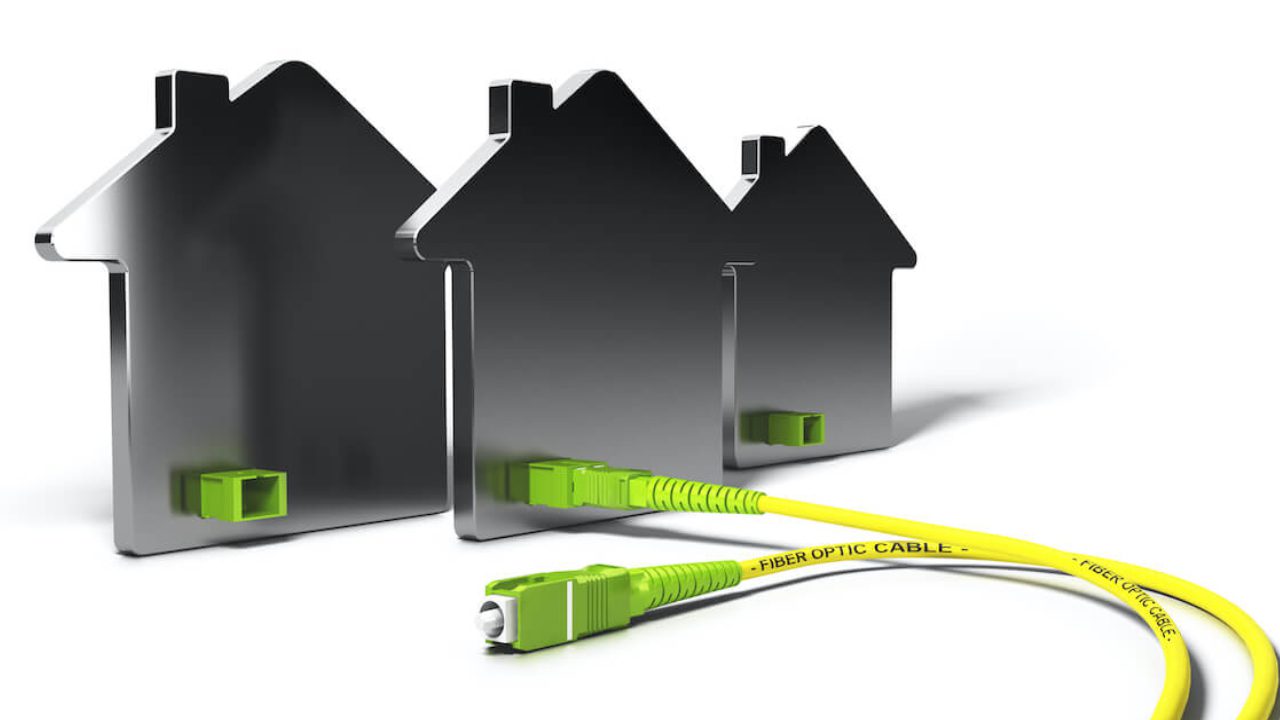
First things first, let’s understand what fiber optic internet is. Fiber optic internet uses tiny strands of glass or plastic. These strands are called fiber optics. They send data at super-fast speeds. Unlike traditional cables, which use electricity, fiber optics use light to transmit information. This makes the internet connection much faster and more reliable.
How Does Fiber Optic Internet Work?
Imagine a speedy car on a super smooth highway. Fiber optic cables are like that highway, and the light signals are the car zooming along. These cables carry data as light. Light travels very fast, so the internet speeds are super quick.
The Fiber Optic Internet Installation Process
Now that we know what fiber optic internet installation process is let’s see how it gets installed in your home. The installation process involves several steps:
-
Planning and Design
-
Laying the Fiber Optic Cables
-
Installing the Network Box
-
Connecting to Your Home
-
Setting Up the Internet Connection
1. Planning and Design
Before work starts, technicians and engineers plan where the fiber optic cables will go. They make a map of your neighborhood. Then, they decide the best routes for the wires. They check underground paths, telephone poles, and other structures. This ensures a smooth installation.
2. Laying the Fiber Optic Cables
Once the planning is done, it’s time to lay the fiber optic cables. There are two main ways to do this:
Underground Installation
For underground installation, technicians use special machines called trenchers. These machines dig narrow trenches along the planned routes. The fiber optic cables are then carefully placed into these trenches. After the wires are laid, the trenches are filled with soil.
Aerial Installation
In some areas, the cables are installed above ground on telephone poles. Technicians climb the poles and use special equipment to attach the wires securely. This method is often quicker and less disruptive than digging trenches.
3. Installing the Network Box
After placing the main fiber optic cables, the next step is to install a network box. This box is also called an Optical Network Terminal (ONT). It works like a translator, changing light signals from the fiber optic cable into data your devices can use.
Where is the Network Box Installed?
The network box is usually installed outside your home. It is often close to other utilities like electricity and water. It might also be installed inside your home, in a garage, or in a utility room.
4. Connecting to Your Home
With the network box in place, technicians must connect it to the leading fiber optic cable network. This involves running a smaller fiber optic cable from the main line to your home.
Underground Connection
Technicians dig a small trench from the main line to your home for underground connections. They then lay the smaller cable in the trench and cover it up.
Aerial Connection
For aerial connections, technicians run a small cable from the telephone pole to your home. They attach it securely along the way.
5. Setting Up the Internet Connection
The final step is to set up the internet connection inside your home. This means connecting the network box to your router. The router spreads the internet signal around your house.
Connecting the Router
Technicians will use an Ethernet cable to connect the network box to your router. They’ll also make sure the router is properly configured and working correctly. Once everything is connected, you’ll have a super-fast internet connection ready!
The Benefits of Fiber Optic Internet Installation Process
Now that we know how fiber optic internet is installed let’s talk about why it’s so awesome.
Super Fast Speeds
Fiber optic internet is high-speed. It lets you download movies, play games, and watch videos quickly.
Reliable Connection
Fiber optic cables are made of glass or plastic. They are less affected by weather or electrical interference. This means you get a more reliable connection, even during storms.
Better for Multiple Devices
With fiber optic internet, many devices can connect at once. It won’t slow down the connection. This is perfect for families with lots of gadgets!
Conclusion
This is a complete guide to the fiber optic internet installation process! It’s a great process, from planning and laying cables to setting up the connection. Fiber optic internet brings super-fast internet to your home. Next time you browse the web or play an online game, you’ll know how the internet works. Happy surfing!
The fiber optic internet installation process involves several key steps:
-
Planning: Technicians and engineers decide where the fiber optic cables will go. They make a plan for this. They look at maps and existing infrastructure.
-
Laying Cables:
-
Underground: They dig trenches to bury the cables.
-
Aerial: They attach cables to telephone poles.
-
-
Installing the Network Box: They set up a box called an Optical Network Terminal (ONT). This box changes light signals from the fiber cables into data.
-
Connecting the Network Box: They connect the ONT to your router with a cable. The router then spreads the internet signal throughout your home.
-
Testing: Finally, they test the connection to ensure everything works correctly.
This fiber optic internet installation process brings fast and reliable internet to your home.
Underground Fiber Optic Cable Installation Standards
Here are some basic standards for installing underground fiber optic cables:
-
Trenching:
-
Depth: Cables are usually buried at least 18 to 36 inches deep.
-
Width: Trenches should be wide enough to lay the cables comfortably.
-
-
Cable Protection:
-
Conduit: Cables are often placed inside protective conduits to prevent damage.
-
Warning Tape: Technicians lay a warning tape above the cables to alert anyone digging in the area.
-
-
Cable Placement:
-
Spacing: Technicians should space the cables properly to avoid damage and interference.
-
Bends: Avoid sharp bends in the cables. Follow the manufacturer’s bend radius guidelines.
-
-
Backfilling:
-
Material: Use clean soil or sand to cover the cables.
-
Compaction: Ensure that you compact the backfill properly to prevent future settling.
-
-
Markers:
-
Location Markers: Place markers above ground to say where the cables are buried.
-
Documentation: Keep accurate records of cable routes and locations.
-
-
Testing:
-
Pre-installation Testing: Test cables for any damage before installation.
-
Post-installation Testing: Test the installed cables to ensure they are working correctly.
-
How much does it Cost to Install Fiber Optic Internet?
The cost to install fiber optic internet can vary widely based on several factors:
-
Location: Installation costs can be higher in rural areas. This is because they are far from existing infrastructure.
-
Installation Type:
-
New Installations: Costs can range from $1,000 to $10,000 or more. This depends on how long the cable is and how complex the installation is.
-
Existing Infrastructure: If you upgrade from an existing service, costs are usually lower. They typically range from $100 to $500.
-
-
Length of Cable: Longer distances and more complex routing will increase the cost.
-
Permits and Fees: You may need permits for digging or installation, which can add to the cost.
-
Home or Business: Installing fiber optic internet for a business might cost more than for a home. This is because businesses need more data and have more complex setups.
-
Additional Equipment: Costs for equipment like Optical Network Terminals (ONTs) and routers can also add to the total cost.
It’s a good idea to get quotes from several providers. This helps you understand the costs for your situation.
Installing Fiber Optic Cable in Home Cost
The cost to install fiber optic cable in a home ranges from $100 to $1,500. The exact cost depends on:
-
Location: Costs can vary based on how far your home is from existing infrastructure.
-
Installation Complexity: Simple installations cost less. Complex setups or long distances make the cost higher.
-
Existing Infrastructure: Upgrading from an existing service might cost less.
-
Equipment: The cost of ONTs and routers can affect the total price.
It’s best to get quotes from many service providers to find the best price for your home.
How much to get fiber optic internet installed?
The cost to get fiber optic internet installed usually ranges from $100 to $1,500. The price depends on factors like:
-
Location: Costs vary based on how far your home is from existing infrastructure.
-
Installation Type: Simple setups cost less; complex ones or long distances cost more.
-
Equipment: The cost of equipment like (ONTs) and routers can add to the price.
It’s best to get quotes from different providers to see what you’ll pay.